
Roof restoration is an essential part of maintaining your home’s durability and aesthetic appeal. Over time, exposure to the elements can degrade your roof, leading to the need for a comprehensive restoration process. This guide, inspired by a detailed video walkthrough, outlines the steps involved in restoring your roof, ensuring it remains storm-safe, weatherproof, and visually stunning for years to come.
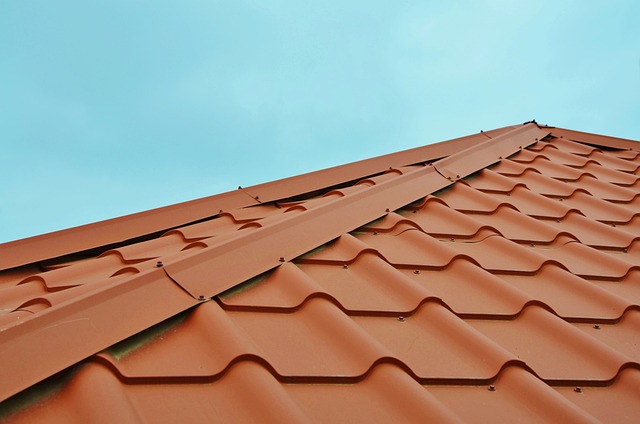
Step 1: Replacing Broken Tiles
The first step in the roof restoration process is to inspect and replace any broken tiles. This is crucial for preventing water damage and maintaining the structural integrity of your roof. Before any cleaning or coating is applied, ensuring that all tiles are in good condition sets the foundation for a successful restoration.
Step 2: Pressure Cleaning
After replacing broken tiles, the next step is pressure cleaning the roof. This involves using a high-pressure cleaner with a whirl away attachment or a standard lance to strip away old coatings, black mold, grime, and any oxidized material that has accumulated over the years. The goal is to remove as much of the old coating as possible, revealing the original tile beneath and preparing the surface for new coatings.
Step 3: Cleaning Gutters and Downpipes
Once the roof has been thoroughly cleaned, the next step is to clean out all gutters and downpipes. This is essential for ensuring proper drainage and preventing water buildup on your roof. If you have a rainwater tank, it will be disconnected before cleaning and reconnected afterward to avoid contamination.
Step 4: Re-pointing Ridge Caps
Re-pointing the ridge caps is a critical step in the restoration process. This involves applying a high-quality flexible pointing material that can withstand extreme weather conditions without cracking. This material moves with the heat and cool, maintaining its integrity over time and ensuring that your roof remains leak-free.
Step 5: Applying the Sealer Coat
The first coating applied to your clean and prepped roof is the penetrating sealer. This sealer absorbs deep into the tiles, strengthening and sealing them. It acts as a primer for the top coats, ensuring they adhere properly and do not peel over time. A thorough cleaning process and the application of an adequate amount of sealer are key to preventing most restoration failures.
Step 6: Top Coats Application
After the sealer coat, two top coats of colored membrane coatings are applied. These coatings are significantly thicker than normal house paint and are designed to withstand the harsh Australian climate, including high levels of UV radiation. They are environmentally friendly and maintain their sheen, color, and elasticity for many years.
Step 7: Final Inspection and Completion
Once the restoration process is completed, including the application of all coats and cleaning of the gutters, a final inspection is conducted. This ensures both the quality of the work and client satisfaction. If this process is too difficult for a DIYer, its recommended you speak to a roof restoration company who can complete the works for you.
A roof restoration not only transforms the look of your home but also ensures it remains protected against the elements. By following these steps and using the best materials available, you can rest assured that your roof will stand the test of time, looking fantastic and remaining functional for many years to come.